Video editing is where raw footage transforms into a compelling story. It is the stage where emotion, pacing, and clarity come together to create something that feels intentional and cinematic. For beginners, stepping into video editing can feel overwhelming, but it is also one of the most rewarding creative skills to learn. Whether you are crafting content for social media, building a YouTube channel, or producing short films, mastering the fundamentals of editing will elevate your work instantly. At its core, video editing is about shaping time. You decide what the viewer sees, how long they see it, and how each moment connects to the next. Even simple cuts can dramatically change the tone and impact of a scene. Once you understand this, editing stops being a technical chore and becomes a creative superpower.
A: The best one is the program you can learn comfortably—choose something intuitive that handles cutting, audio, titles, and exporting well.
A: Not always; simple projects can run on modest systems, especially if you use proxies and keep effects light.
A: You can, but many beginners prefer a 1080p timeline for smoother editing and easier exports.
A: Organize clips into folders or bins, rename them clearly, and review your best takes before cutting.
A: It usually needs tighter pacing, stronger shot variety, better audio, or clearer storytelling.
A: Usually short—most edits work best with straight cuts and only occasional transitions.
A: Very important; the right track can improve energy, emotion, and pacing instantly.
A: B-roll is supporting footage that adds visual interest, covers cuts, and helps illustrate what is being said.
A: Focus on clean cuts, consistent audio, basic color correction, readable titles, and a clear beginning-middle-end flow.
A: Finish small projects often—every completed edit teaches workflow, timing, and problem-solving faster than endless experimenting.
Choosing the Right Video Editing Software
The first step in your editing journey is selecting the right tools. Fortunately, modern video editing software is more accessible than ever, with options suited for every skill level and budget. Beginners often benefit from intuitive platforms that balance simplicity with powerful features.
Programs like Adobe Premiere Pro, Final Cut Pro, and DaVinci Resolve dominate the professional space, but they are also beginner-friendly with time and practice. DaVinci Resolve, in particular, offers a robust free version that includes professional-grade editing and color tools. For those just starting out, simpler options like iMovie or CapCut can help you learn the basics without feeling overwhelmed.
The key is not to chase the “best” software but to choose one and commit to learning it deeply. Every editing program shares common principles such as timelines, cuts, transitions, and audio layers. Once you understand these fundamentals, switching platforms becomes much easier.
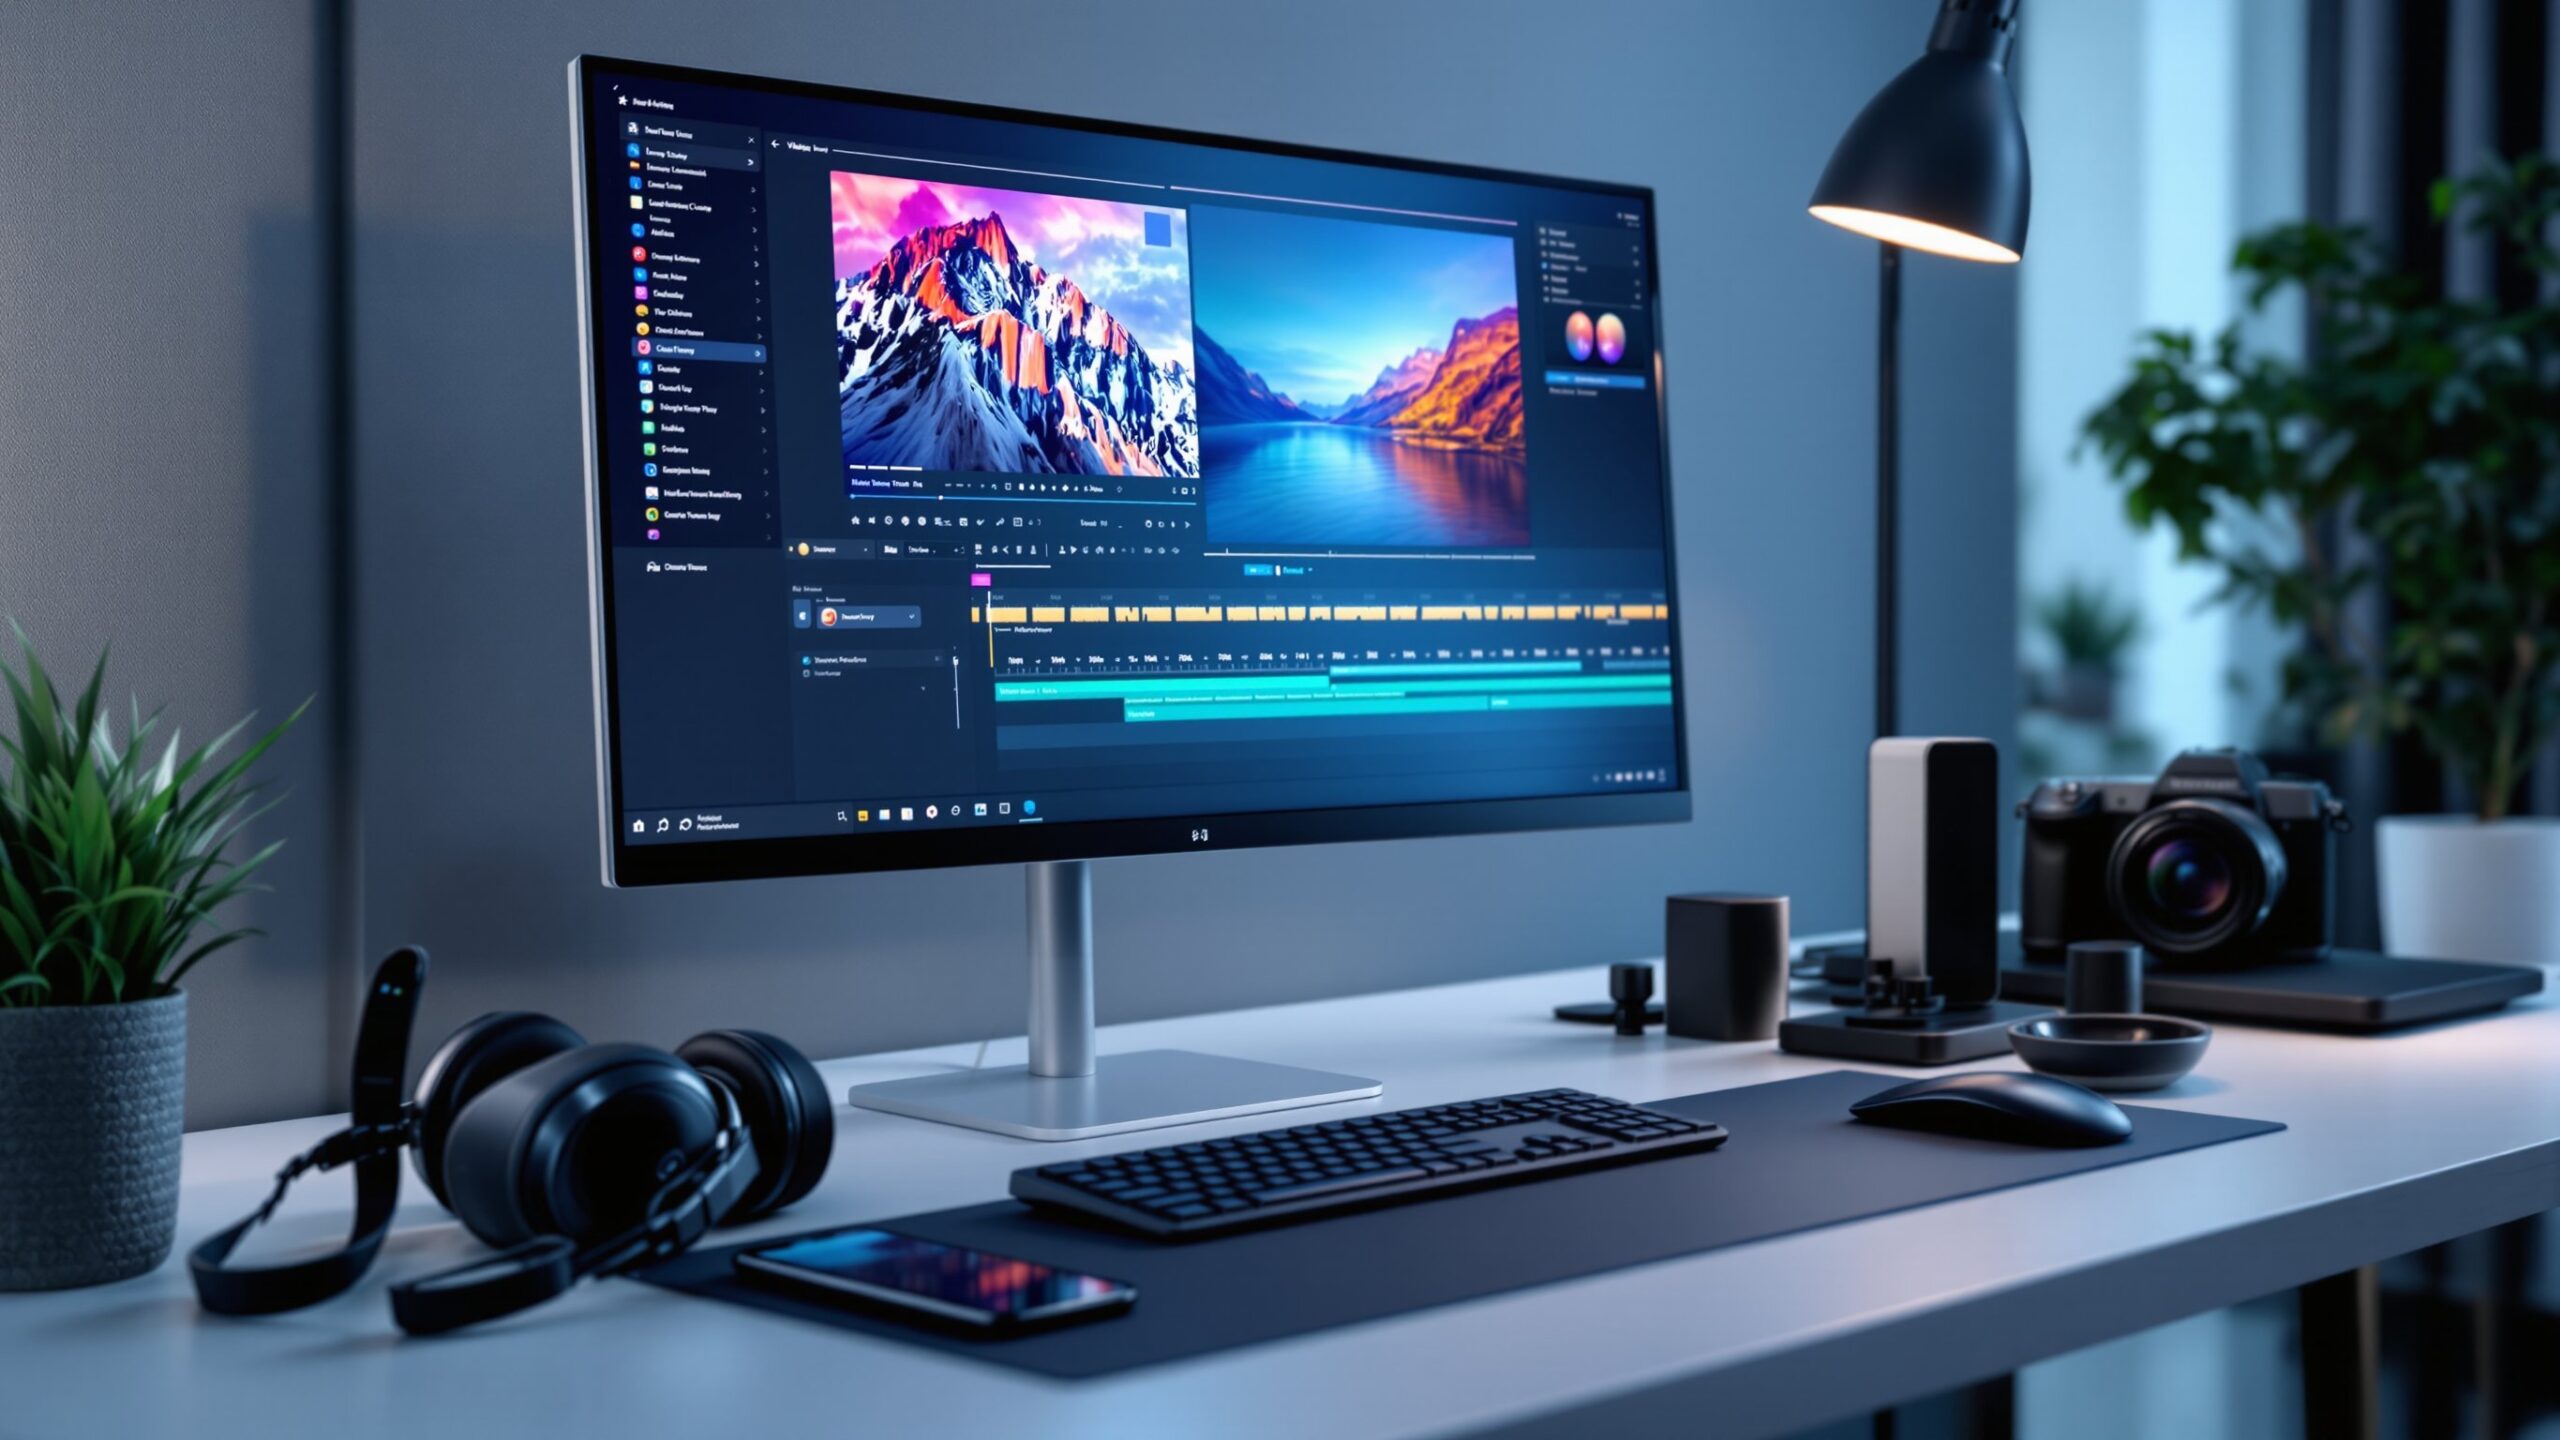
Understanding the Editing Workspace
When you open a video editing program for the first time, you will encounter a workspace that may look complex. However, most editing software follows a similar layout designed to streamline your workflow. The media panel is where your video clips, audio files, and images are stored. The preview window allows you to watch your footage and edits in real time. The timeline is the heart of the editing process, where you arrange clips in sequence and build your story layer by layer.
Understanding the timeline is essential. Each track represents a layer of video or audio, and you can stack multiple tracks to create effects such as overlays, music, and sound design. As you grow more comfortable, you will begin to see the timeline as a creative canvas rather than a technical interface.
Building a Strong Editing Workflow
A structured workflow is one of the most important habits a beginner can develop. Without it, editing can quickly become chaotic and inefficient. A solid workflow keeps your project organized and helps you maintain creative focus.
Start by importing and organizing your footage. Create folders for video clips, audio, music, and graphics. Naming your files clearly will save you hours of frustration later. Once your assets are organized, begin with a rough cut. This stage is about placing clips in order and establishing the basic structure of your video.
After the rough cut, move into the fine cut. Here, you refine timing, adjust transitions, and remove unnecessary footage. Pay close attention to pacing, ensuring that each shot flows naturally into the next. Finally, move into polishing, where you add color correction, sound design, and visual enhancements.
By following a consistent workflow, you create a repeatable process that improves both speed and quality over time.
The Power of Storytelling in Editing
Editing is not just about cutting clips together; it is about telling a story. Even the most visually stunning footage will fall flat without a clear narrative. As an editor, your job is to guide the viewer through a sequence of moments that feel cohesive and engaging. Think about the purpose of your video. Are you trying to inform, entertain, inspire, or persuade? Every editing decision should support that goal. Use cuts to maintain momentum, transitions to guide attention, and music to evoke emotion. One of the most effective storytelling techniques is to start strong. The first few seconds of your video are critical in capturing attention. Follow this with a clear progression of ideas or events, and end with a memorable conclusion that leaves an impression.
Mastering Basic Editing Techniques
Beginners should focus on mastering a few essential techniques before exploring advanced effects. The most fundamental skill is the cut. Learning when and where to cut determines the rhythm of your video. A well-timed cut can make a scene feel dynamic, while a poorly timed one can disrupt the flow.
Transitions are another important tool, but they should be used sparingly. Simple cuts and fades are often more effective than flashy transitions. Overusing effects can distract from the content rather than enhance it.
Trimming clips is also crucial. Removing unnecessary moments tightens your video and keeps the audience engaged. As a rule of thumb, if a shot does not add value, it should be shortened or removed.
Enhancing Visual Quality with Color Correction
Color correction is the process of adjusting the colors in your footage to achieve a natural and consistent look. For beginners, this step can dramatically improve the overall quality of your videos. Start by correcting exposure, contrast, and white balance. Ensure that your footage is neither too dark nor too bright, and that colors appear realistic. Once the basics are in place, you can explore color grading, which involves adding a stylistic look to your video. Even subtle adjustments can make a significant difference. Consistent color across all clips creates a professional appearance and helps maintain visual continuity throughout your project.
Improving Audio for a Professional Finish
Audio is often overlooked by beginners, but it plays a critical role in the success of a video. Poor audio quality can ruin an otherwise excellent project. Clear dialogue, balanced music, and well-placed sound effects elevate your content and make it more engaging.
Start by cleaning up your audio. Remove background noise and ensure that dialogue is easy to understand. Adjust levels so that music does not overpower speech. Adding subtle sound effects can enhance realism and immersion. Music is a powerful storytelling tool. Choose tracks that match the mood and pacing of your video. A well-selected soundtrack can transform the emotional impact of your work.
Creating Smooth Transitions and Flow
Flow is what keeps viewers engaged from start to finish. Smooth transitions between clips create a sense of continuity and prevent the video from feeling disjointed.
Match cuts, where movement or composition aligns between shots, can create seamless transitions. J-cuts and L-cuts, where audio overlaps between clips, are also effective techniques for maintaining flow. These methods help bridge scenes and make your edits feel more natural.
Avoid abrupt changes unless they serve a specific purpose. Consistency in pacing and style ensures that your video feels cohesive and polished.
Organizing Projects for Efficiency
As your projects grow more complex, organization becomes increasingly important. A cluttered timeline or poorly labeled files can slow down your workflow and lead to mistakes. Develop a system for naming files and organizing assets. Use color labels or markers to identify key moments in your timeline. Keep your workspace clean and structured. Backing up your projects is also essential. Losing hours of work due to a technical issue can be frustrating and avoidable. Regular backups ensure that your progress is محفوظ and secure.
Exporting and Sharing Your Video
Once your edit is complete, the final step is exporting your video. This process involves rendering your project into a format suitable for sharing. Different platforms have different requirements, so it is important to choose the right settings.
For most online content, exporting in 1080p with a standard frame rate is sufficient. Higher resolutions like 4K can provide better quality but require more processing power and storage. Pay attention to file size and compression. A well-optimized video maintains quality while remaining easy to upload and share. After exporting, review your video to ensure that everything looks and sounds as intended.
Common Beginner Mistakes to Avoid
Every beginner makes mistakes, but recognizing them early can accelerate your progress. One common mistake is overusing effects. While transitions and filters can be exciting, they should enhance your video, not dominate it.
Another mistake is neglecting audio. As mentioned earlier, sound quality is just as important as visuals. Ignoring this aspect can diminish the impact of your work.
Inconsistent pacing is another issue. Videos that drag or feel rushed can lose viewer interest. Strive for a balanced rhythm that keeps the audience engaged throughout.
Developing Your Editing Style
As you gain experience, you will begin to develop your own editing style. This is what sets your work apart and makes it recognizable. Your style may be influenced by the type of content you create, the stories you tell, and the techniques you prefer. Experiment with different approaches and learn from other creators. Study films, YouTube videos, and commercials to understand how editing shapes the viewing experience. Over time, you will refine your techniques and create a signature style that reflects your creative vision.
Staying Inspired and Continuing to Learn
Video editing is a skill that evolves with practice and exploration. The more you edit, the more intuitive the process becomes. Staying inspired is key to maintaining motivation and improving your craft.
Engage with online communities, watch tutorials, and challenge yourself with new projects. Try editing different types of content, from vlogs to cinematic sequences. Each project will teach you something new and expand your capabilities.
The journey of learning video editing is ongoing, but it is also incredibly rewarding. With dedication and curiosity, you can transform your ideas into powerful visual stories.
Turning Footage into Stories
Video editing is where creativity meets precision. It is the process of turning raw footage into something meaningful, engaging, and memorable. For beginners, the learning curve may seem steep, but every step forward brings new confidence and skill. By choosing the right tools, building a structured workflow, and focusing on storytelling, you can create videos that captivate and inspire. Remember that great editing is not about complexity; it is about clarity and intention. Start simple, stay consistent, and keep experimenting. With time, you will not only understand video editing—you will master it.